January 17, 2023
UX design: Tools to help with your day-to-day work
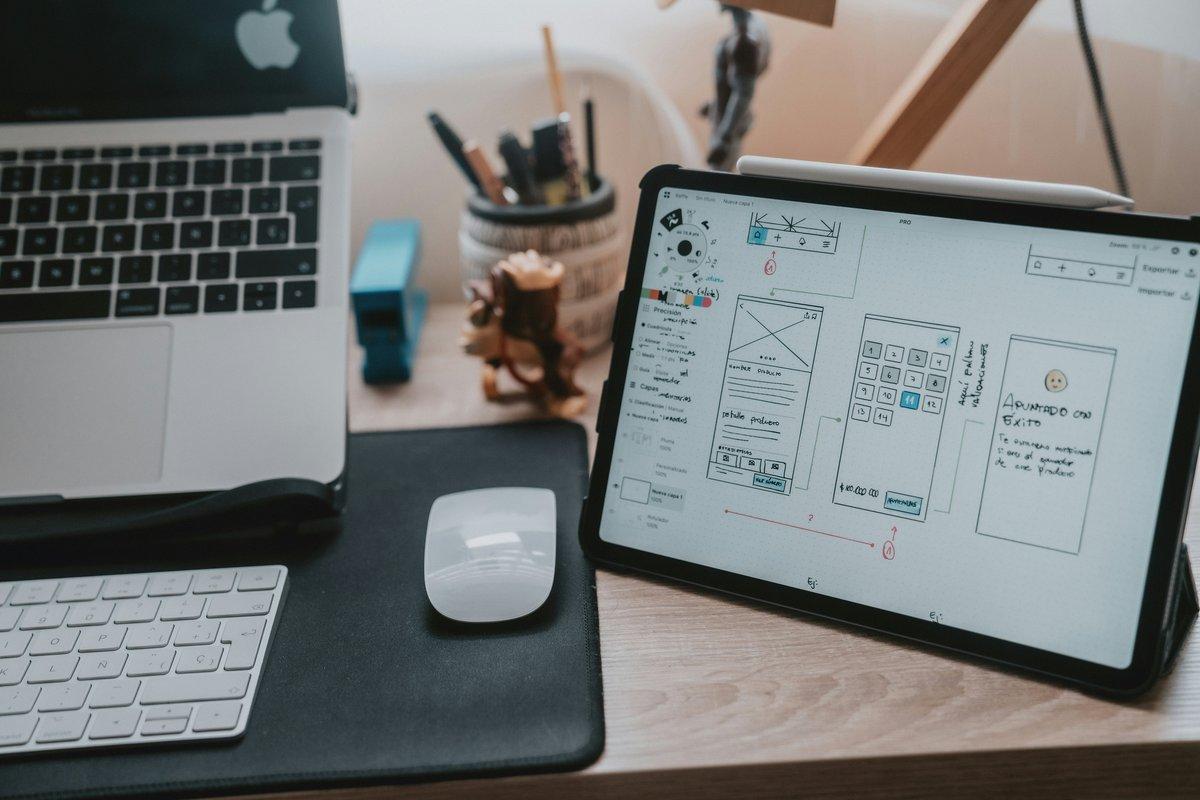
Throughout this article, we'll list some of the most interesting tools and methodologies available today. Besides prototyping software, there are also important tools to help organize a project, right up through its final steps before delivery.
On the organization → the tools and methodologies are presented in an order based on the Double Diamond (discover, define, develop, deliver).
Double Diamond Design
The methodology was created by the Design Council in 2004 to clearly convey design processes and methods to everyone. The Double Diamond (DD) is a methodology that, through design principles and methods, helps guide the solution-development process.
The first diamond is the process of exploring deeply and generating ideas around the problem. The second diamond takes focused action to narrow down the number of ideas, generates operational possibilities for those solutions, and then focuses on just one of them.
Stage 1 — Discover
Some tools that can help you complete this stage:
CSD Matrix
Certainties, Suppositions and Doubts — a collaborative tool that's important for speeding up the discovery process. It involves gathering everyone involved and, over 5 to 20 minutes, writing down perceptions on post-its (in person or remotely, using Miro or Google Sheets).
How to do it — write on the post-its:
- Certainties: everything you already know about the project
- Suppositions: everything you think you know
- Doubts: everything you don't know but would like to
At the end, go through each post-it and, whenever possible, resolve the doubts. With the data organized, the start of your project — which used to feel uncertain — starts to gain direction.
Desk Research
Once you understand what the project's goal is, the next step is Desk Research — a research method focused on finding and gathering information from already-existing documents to build knowledge about a given topic.
To make the best use of this research, it's important to look at the concepts, interactions and experiences that already-existing products on the market provide, talk to stakeholders, get to know the organization's existing research data and analyses, and of course look for data available online, in the media, and in commercial information (research from external sources).
How to do it — 5 tips for running Desk Research:
- Define the research goal: what do we want to learn through Desk Research? What question do we want to answer?
- Map the research sources: the internet, people responsible for the project, other reliable sources
- Set deadlines: propose realistic timeframes to help with productivity and research efficiency — hours, days, a few weeks?
- Do the research: carry it out with your goal, deadline, and reliable sources in mind
- Analyze the data: check whether the results answered the questions and met the original goal. If not, redo the research stage, or check whether your goal needs to be adjusted
💡 Keep in mind that as you gain experience with this research method, you can adapt the steps to better fit your own way of working.
Benchmarking
This is a process of evaluating your main competitors to understand which solutions and best practices they deliver to their users. Don't worry about trying to start from scratch — reinventing the wheel is tiring and often unnecessary.
This evaluation aims to collect information that will help with business decisions. That said, depending on the context of the problem, it's important to keep an open mind and look for insights by observing similar solutions and practices from other segments.
How to do it — tips on what to take away from a Benchmarking exercise:
- Understand where your product sits in the market
- Analyze the strengths and weaknesses of competitors and of your own product
- Understand the market and know how to spot behavior changes
- Gather information to support decision-making in the design process
💡 Benchmarking is the analysis of competitors, and a benchmark is the company used as a reference for something. Example: Apple is a benchmark for simplicity and sophistication in device design.
Mind Maps
This is a widely used technique, not just in UX but across every field. Mind maps are extremely valuable during the discovery stage, since they let you organize ideas and connect them through relationships. They can be built on platforms like Miro, or just as easily with pen and paper to group initial ideas.
Timeline
Organizing a timeline with stages, the requirements for completing each one, and delivery deadlines is extremely important for keeping the work moving forward. A few tools that can help with this:
- Trello
- Asana
- Jira
Stakeholder interviews + stakeholder map
Interviews can be understood as a one-on-one conversation to help you better understand what stakeholders want and need from the product. It's an opportunity to gather useful information across the main areas of interest — for example, user needs, business goals and technical constraints — in order to collect valuable insights. It's also important for weighing different points of view and each stakeholder's perceptions and aspirations.
Creating a stakeholder map is very important for understanding who the interested parties in the product being developed are, bringing them closer to the process from the very start. It's also considered essential to keep in mind the benefits each of these people can bring to the project, so you can better define their level of participation and influence throughout delivery.
Stage 2 — Define
Some tools that can help you complete this stage:
Proto-persona
A fictional profile built from the team's own ideas and perceptions about who is using the product or service — their behaviors, goals, pains, motivations, and the organization's beliefs. This helps clarify how what's being developed will add value to people's lives, and whether the real problem is actually being tackled.
How to do it — a proto-persona is made up of:
- Who the user is (photo, name, and a sentence)
- Demographic and behavioral information
- Context of use (how the product fits into the user's life)
- Problem: pains and needs
- Motivations (reasons for continued use)
💡 To never confuse the two again: a proto-persona is built from the team's own ideas and perceptions about the product or service. A persona, on the other hand, is built on prior research and data collected from real users.
Empathy Map
A collaborative tool that helps map and understand the user's feelings and pains.
How to do it — the empathy map is made up of:
- The proto-persona's name and age
- “What do they see?” — a space for phrases representing things/events the user sees in their routine that relate to the product in some way
- “What do they think and feel?” — the space where we include thoughts, dreams and feelings the user might have
- “What do they hear?” — where we capture everything the user hears that might influence their use of the product or service
- “What do they say and do?” — the behaviors the user has toward people and things connected to their social circle
- Mapping the user's pains (obstacles to happiness) and needs (what's missing to reach happiness)
In-depth interview
A qualitative research technique in which the researcher asks an interviewee (user) questions based on a loose or semi-structured script. Interviewees can be approached in different ways, and this can vary depending on the project.
At the start of the interview, its conditions are reiterated. Questions like whether the interview will be recorded, how long it will take, and whether a consent form needs to be signed may come up depending on the research project. Duration also varies, though interviews longer than two hours aren't recommended. Finally, everything should be documented and analyzed.
This is the most genuine way to understand what users actually need. What we've covered above is just a summary, a starting point for exploring the world of UX Research. If you're on a larger team, you may not need to run this stage yourself — but it's still very important to understand the end-to-end process in order to generate more precise solutions.
💡 Putting together a well-structured script with a clear goal is essential, as is knowing how to ask the right questions.
Stage 3 — Develop
Some tools that can help you complete this stage:
How might we
What challenge are we facing? Gather the team and look at the findings, opportunities, dilemmas and pain points with the goal of reframing them positively. HMWs create an active framework for tackling challenges, prioritizing the opportunities that are most appealing to your users, and helping the team focus on the best ideas.
- “How” encourages team members to believe the answer is out there
- “Might” reminds team members that their HMW statement may or may not work, and any possibility is acceptable
- “We” reminds team members that the task is about teamwork, building on each other's ideas
How to do it:
- Use a whiteboard to write down your HMW notes
- When you hear a pain point, reframe it as an opportunity
- Write only one idea or HMW opportunity per note
- Focus on quantity of ideas, not quality
Example: “How might we improve the payment experience in this service or product…”
To wrap up, gather all the notes, run a vote to pick the best ones, group them into categories, and create a backlog to rank the order and which priorities will be addressed.
Job stories
The goal of this tool is to investigate the causality, anxieties and motivations behind the tasks users currently perform with a product or service. This mapping helps us create a solution, or “success premise,” that solves a user's problem or helps them complete a “job” efficiently.
How to do it:
- Gather the team and highlight the most recurring pains, needs and expectations from your discovery insights
- Group and prioritize opportunities
- Break them down into small stories, or Jobs, that help prioritize the biggest problems, resulting in success premises
“When I'm checking my open bill, I want to be able to see my total spending and available limit, so that I can analyze and manage my monthly finances.”
Jobs to be done
The Jobs to be Done methodology can be understood as a framework for understanding users' real needs and intentions, as well as exploring their intent when performing certain actions. It's presented in a visual, easy-to-understand way.
💡 You're no longer trying to understand what your audience wants to buy — what matters is what they want to get done.
User testing
There's a wide range of user tests that are quite effective for figuring out which direction to take while developing a product. Here are a few of them:
Usability testing
Usability testing is one of the best-known and most efficient ways to test a given feature or product with the users who will actually use it. The approach is fairly simple: sit down with your user and ask them to complete tasks within your platform, so you can spot points of difficulty and improve the product. It's worth remembering not to give instructions on how to complete the tasks, and it's also quite valuable to record the test to watch later and discuss with the rest of your team.
A/B testing
Another well-known test, the idea here is to split your product's audience to show different versions of the same screen — for example, you could split it so that 50% of your audience sees version A of a screen and 50% sees version B.
Online quantitative surveys
There are several platforms where you can host your survey. Since it's quantitative, you're looking for a larger number of respondents, so it's worth structuring the survey with very objective, clear questions — as few open-ended ones as possible — and making sure you're targeting the right audience.
Stage 4 — Deliver
Some tools that can help you complete this stage:
One of the most important stages: delivering the project to the client. Every organization needs to be clear about access and permissions granted to the people responsible, so there's no room for misunderstanding. A few tools can help you build an amazing presentation that will leave your client's jaw on the floor!
Figma
Besides developing your whole project in it, you can build a presentation and put together a prototype with multiple interactions, making the presentation much more dynamic. Figma also has plenty of plugins and communities that can help with inspiration.
By creating pages, you can keep the project very well organized and share it with whoever needs it, granting either view-only or edit permissions.
Miro
Not just for presentations, Miro has lots of templates for every kind of exercise and deliverable. With it, you can build slides for a presentation with multiple interactions, and you can also invite people to your team to work together on wireframes, brainstorming, and matrices like SWOT and CSD. It's a great, free tool.
Canva
A platform that's a bit controversial among designers, but one that offers a huge range of presentation templates, plus the ability to create your own template quickly and easily. Canva is also free, with the option to upgrade to premium for students.
A few more tools that can be quite useful during the delivery phase:
- Adobe XD
- PowerPoint
- Google Sheets
- Google Docs
These are just a few of the tools available to help with a UX designer's day-to-day work — and by learning to use them, you'll definitely be able to deliver impressive, well-grounded projects backed by research and study! :)
Originally published on Medium: medium.com/@vitoriaasimon